How do I assemble my racket?
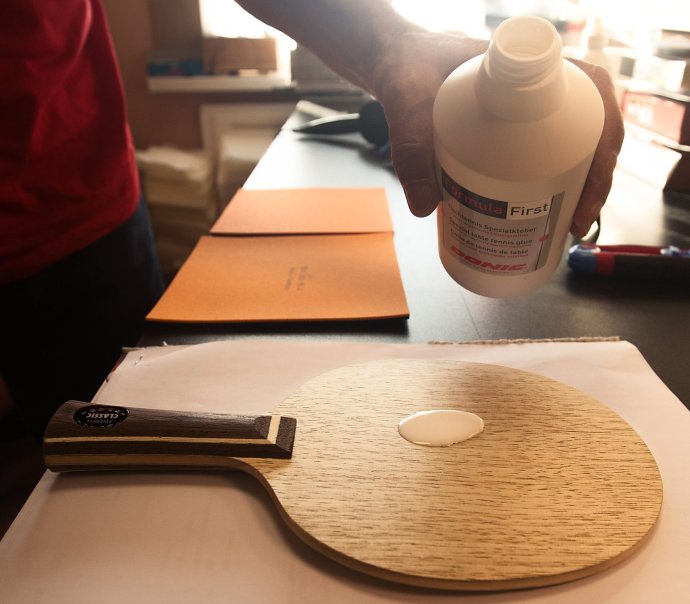
1. Apply the glue
Apply a thin coat of glue to the blade and rubber. Make sure to cover the whole surface of only one side of the rubber and the blade.
2. Spread the glue
Spread the glue evenly so that the surfaces have equal glue distribution.
3. Allow the glue to dry
You have to let the glue dry a bit until it has more tackiness. This process doesn’t take more than 10 to 15 minutes. You can use the hairdryer to speed it up.
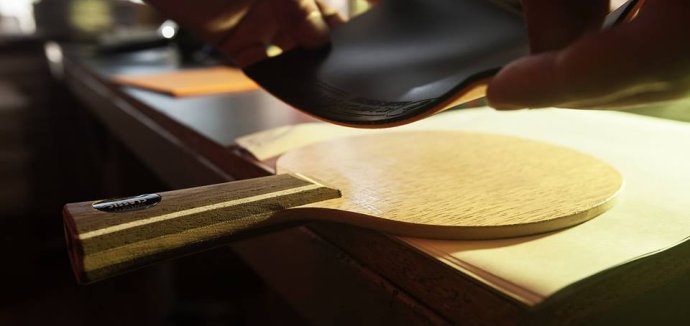
4. Attach the rubber
To attach the rubber to the blade, you’ll have to hold the rubber (with the moulded name on the bottom). Make sure that the rubber is centred on top of the blade and that the bottom is lined up to the top of the handle correctly. Roll the rubber gently using a roller.
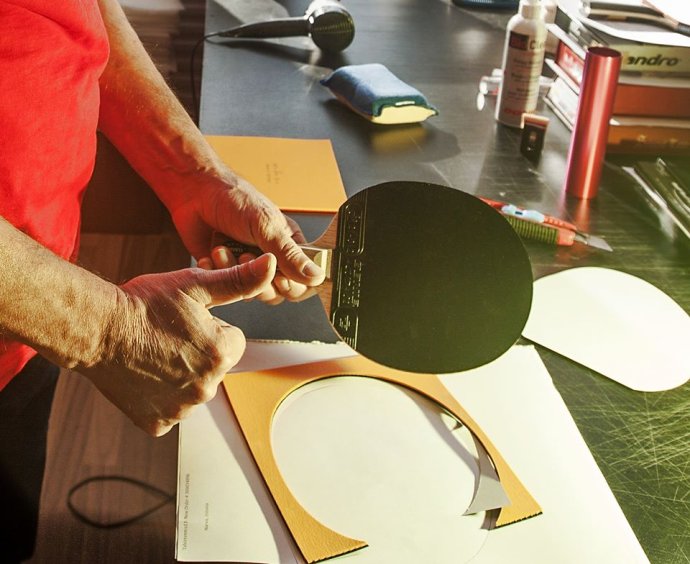
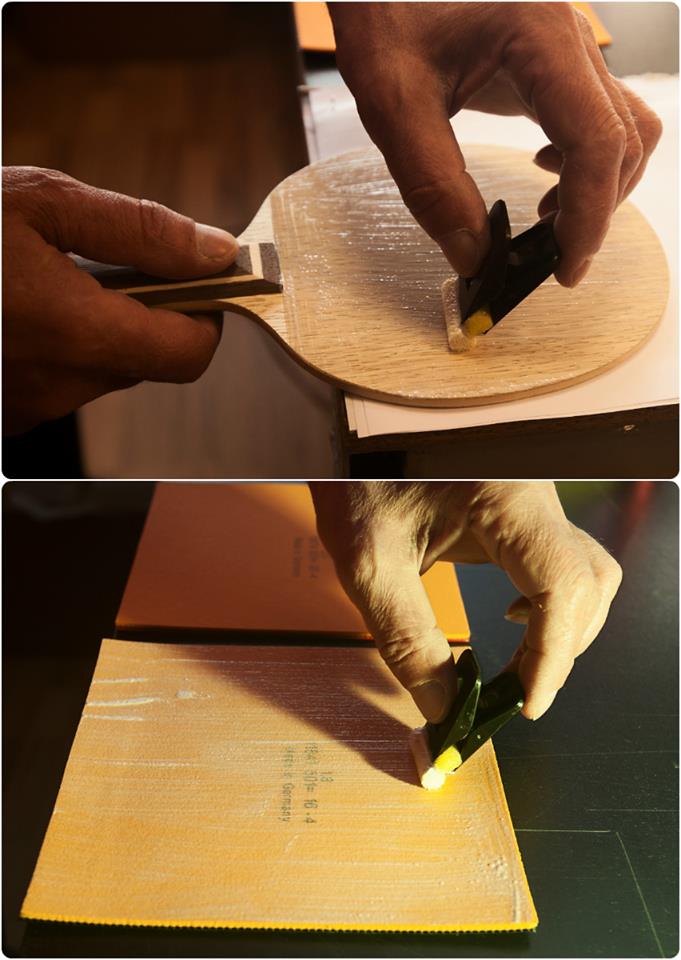
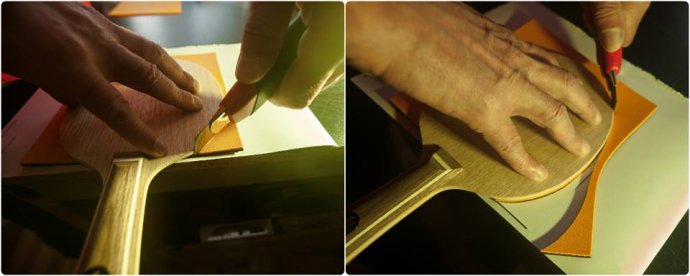
5. Cut the rubber
Cut the excess rubber with a pair of scissors or a cutter. When using scissors, begin at the bottom of the racket and make your way around it by using the wooden blade as a guide. If you’re using a cutter, it’s best to trace the blade edges prior to cutting to ensure precision.
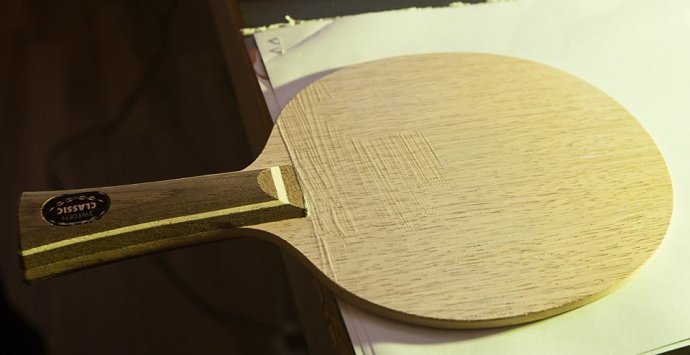
6. Repeat on the other side
Repeat steps 1 to 5 on the other side of the paddle. Fix the edge tape and handle grip on the racket and use the racket press to evenly distribute the pressure on the racket if necessary. That’s it! you have now successfully assembled your own racket.
7. Protect your racket
After every session of play, clean the rubber by using a rubber cleaner. Place the protection sheets on both sides of the rubbers to protect it from dust before placing it into the racket case.
We typically assemble 10-12 rackets everyday. We offer our racket assembly service at a nominal cost!

Comments
Post a Comment